So you just got your PLG package in the mail, and you’re dying to text a picture of all your new leather goods to your besties or make the perfect Instagram post. But for some reason, the way your PLG products look in your photo is NOT how they do in real life! Is it your camera? The setting? The photographer? WHAT IS HAPPENING?!?!

Fortunately for this hypothetical customer, there’s no need to stress! When it comes to taking photos of our bags, we know that there are a lot of ways to get a not-so-great picture. That’s why we’re here to help. So without further ado, here’s our guide to getting the perfect photo of your brand new PLG bag!
Step 1: Lighting
Depending on the hue in your house, the brightness of your light bulbs, and the amount of natural light available, your new leather bag could look like all sorts of different colors. For example, bring your bag to the basement and turn on some incandescent light bulbs. It probably looks pretty dark and muted, like a grayish brown. OK, now take it outside under the bright shining sun. Pop! There’s the color you were expecting!

Our amazing photographers take photos in one of two places, either in our light filled photo-studio equipped with countless windows and professional-grade lighting equipment, or outside under the open sky! After enduring a yearlong pandemic, we know from experience that it can be really tough to find this same great lighting at home. Our Customer Experience team knows this better than anyone, since they review photos from folks everyday. They have received many a frantic email from customers who worry that their bag isn’t the right color when they first open the box. When they send photos we notice some key details that help us to pinpoint the problem. (Spoiler! It’s the lighting!)
From seeing so many photos – both great and not so much – our Customer Experience team has come up with a sure-fire trick for a great photo that they tell everyone: get outside! Natural lighting is a leather bag’s best friend, and will bring out all of the tonal subtleties in the color that are so hard to perceive in a photo. Trust us – if it’s rainy, be patient; if it’s dark out, wait until morning. You’ll quickly realize that nothing compliments our leather quite like sunlight.🌞
Photo by @meganelisevarela
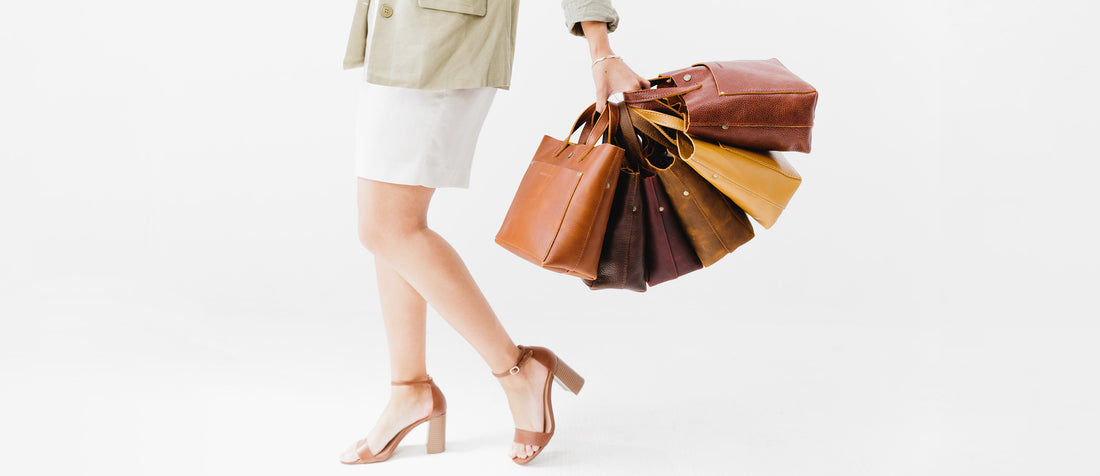
Step 2: Angle
Now that you’ve got the right lighting for your photo, you’ll want the best angle. Unless it’s high noon and the sun is directly above you, you need to orient your bag strategically. Make sure it is being directly hit by the light so that its color can shine brightest. This is key to getting a great photo, so it won’t hurt to say it again but slightly differently: DO NOT BACKLIGHT YOUR TOTE!

It’s not always easy to get the right angles, so don’t be afraid to give it a few tries. If it’s not looking right in your camera, try rotating the bag horizontally to see what orientation allows it to soak up the most sun. When you moved it, which direction looked better? You can also change your angle vertically. Try shooting from above, below, and in-line with your bag. Cloudy days can offer great photos too! Just think about where the sun is in the sky and orient your bag in that direction It can take a bit of work, but it’s all part of getting that perfect picture!
Step 3: Frame
Next up – what’s surrounding your leather bag? Framing it with a person, a plant, or wood can really help your camera adjust the color and best convey its appearance. An easy way to color correct the leather when shooting photos is to frame the bag with something your camera recognizes. For example, sometimes placing a hand on the bag or widening the photo frame to include the surrounding nature can instantly correct the color.

Framing is also a way to control the lighting in your photo. Try placing your bag on a darker surface for more contrast. Or, if you’re looking for a lighter setting, use a brighter surface that will reflect more sunlight. You just might be surprised how a little change like this can make a big impact in your picture!
Step 4: Personality
Lastly, and dare we say most importantly... add a little FLARE to your leather bag photo shoot! Don't be shy when it comes to taking photos of your Portland Leather bag. Think about what makes this bag yours and showcase that in your images. We love seeing the unique ways you all rock your PLG bags on the streets! Just think: What makes this bag yours?
And don't forget to tag us using #LoveMyLeather!